Thursday, December 30, 2010

NEW Clipboard

Clipboards
I was having a market day in my class.
I made clipboards.
There was a chocolate and football and a Halloween.
There are what they looked like. I hope you like them.
A lot of my class mate liked the chocolate one.
Please tell me which one you liked. Here are the pics down below. Some of the clipboards were in the
Mod Podge part.
so they look a little bumpy.
but after they had dried they looked more smooth


Thursday, November 4, 2010

25 Things About Me as an Artist

1. I like to draw.
2. I like making zentangle.
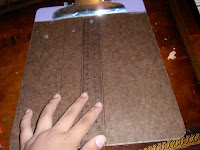
3. I like to make clipboards.
4. I do not like to make jewelry.
5. I like like to go to Joann Fabrics.
6. I love to go to Wholly Craft.
7. I am not so good at painting.
8. I want to be an artist when I grow up.
9. I love art class.
10. I think jewelry and clothing look cute when they are vintage.
11. I like to make things out of cardboard boxes.
12. I like to go on YouTube and watch Annoying Orange
13. I love the way graffiti looks.
14. I like to take photos.
15. I am not a big fan of crayons.
16. I use markers more often then crayons.
17. I strongly do not like chalk.
18. I want to enter a drawing contest some day.
19. I don't like colors very much in drawings.
20. My art teacher is very fun and creative.
21. I am in love with Converse. They have a Cat in the Hat shoe. They are so cool.
22. I like to draw on the computer.
23. I have being using a bamboo to draw with.
24. Me and my sister like to decorator cupcakes.
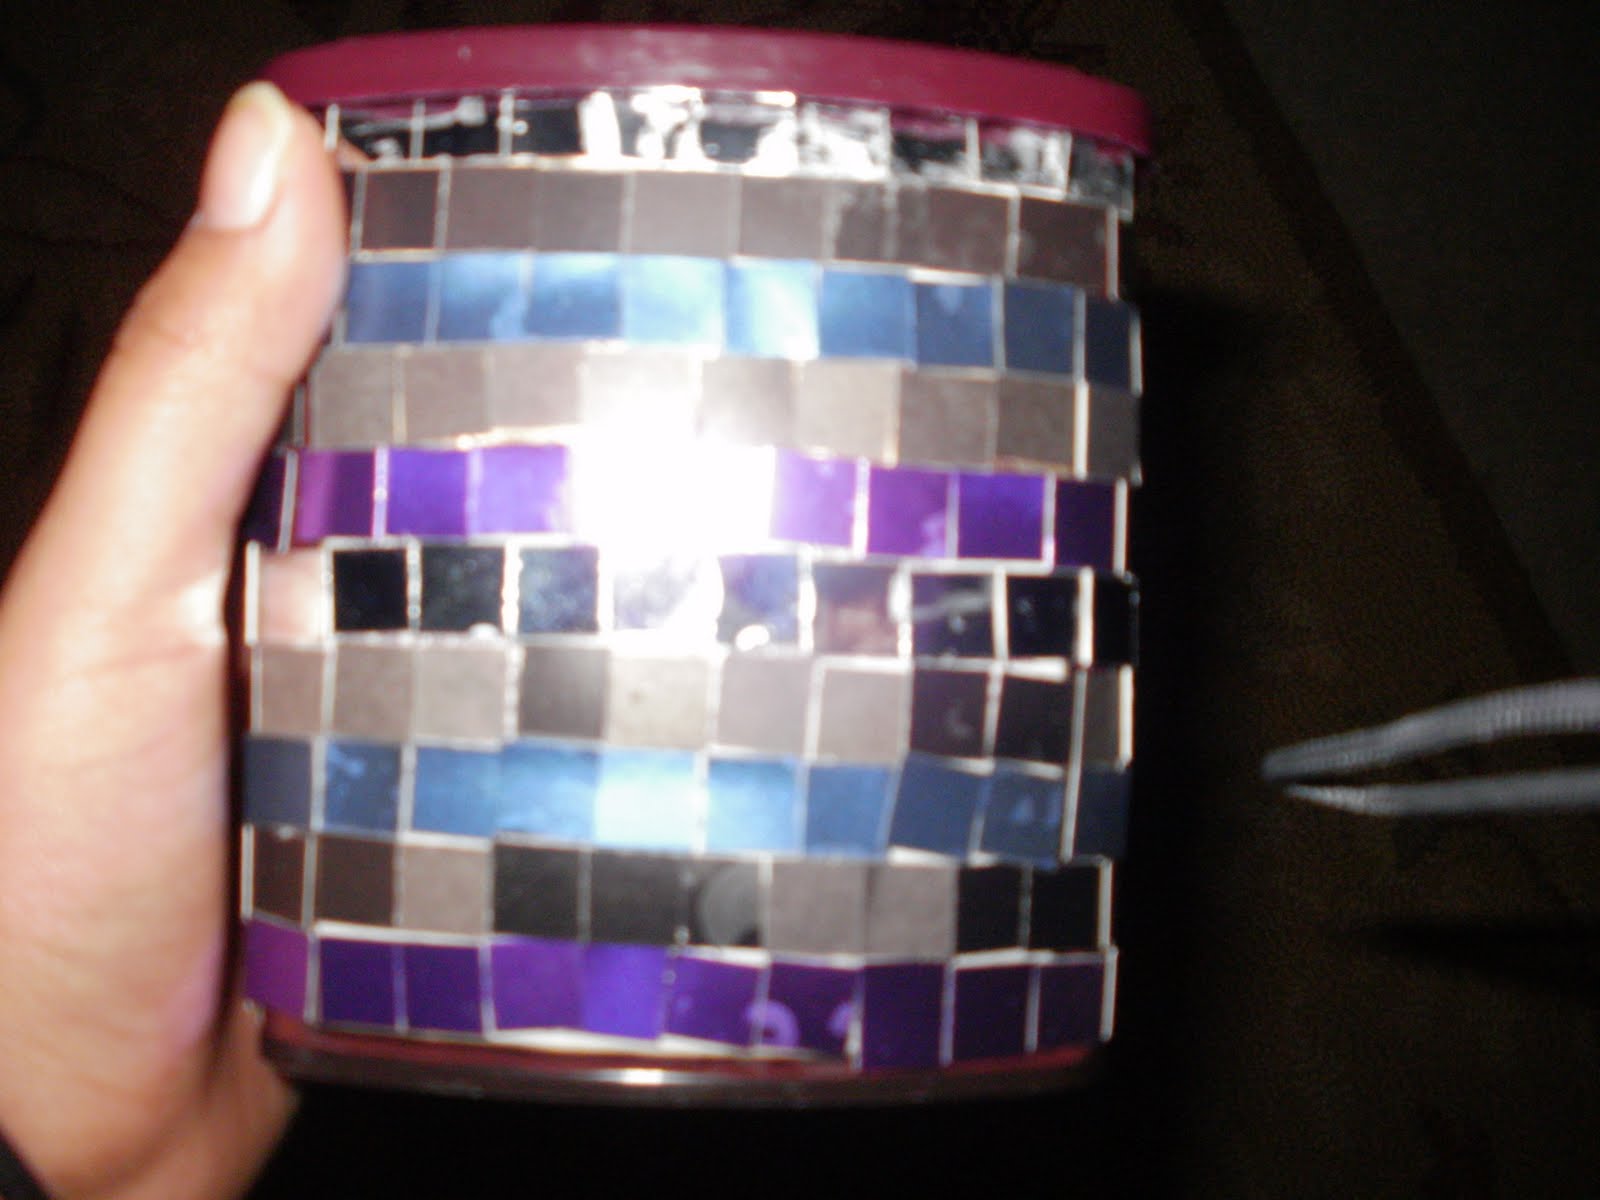
25. I like neon colors.

Friday, October 29, 2010

Halloween

HAPPY HALLOWEEN 
HOPE YOU HAD FUN TRICK OR TREATING

Monday, October 11, 2010

SORRY☹

Sorry that I have not been posting on the blog. I have been busy and tired. But I will try and add a post when I can.

Saturday, September 4, 2010

wholly craft

Wholly Craft ☜
My mom and I were just out literally today and one of here friends said that we should go and to see this palace called Wholly Craft. So we went there and I completely fell in love with the store. They had the best/cutest shirts, belts, headbands, jewelry and bags. All of their things are handmade by really good, different artists.  


The store is a pinkish-purple on the outside.  There's a window display with really cute shirts. The address is 3169 North High Street. Columbus, Ohio. 


I hope you go to the store. 

Sunday, August 29, 2010

Names Cards

In my class we made Name Cards. This was to help us know more about us. I used colored pencils and a piece of white paper. But you can do much more with them. You could use them as place mats or name tags and put them on your desk. If you can think of any other ways to use these Name Cards please write them in the comments.


Friday, August 20, 2010

New Clipboard

I had so much fun making my first clipboard that I thought of making another clipboard. But this time I made it for someone. I just gave her the clipboard today. I made the clipboard the same way that I had for the first clipboard. I made a draft, but this clipboard was much more difficult than my first one. I also added some ribbon. I only used 3 kinds of ribbon. On the right is what it looked like when it was all done.


Saturday, August 14, 2010

Silly Bandz Sunprint

To all the people that know about Silly Bandz this craft is for you. Okay. Me and my mom stumbled upon  this kit. It was called Sunprint Kit. Now if you have Silly Bandz then pick some of your favorite ones. Now that you have done that, you will take your kit. In the kit there is a acrylic sheet. Then you will find a piece of cardboard. You will cut the piece of cardboard the same size as the acrylic sheet. There is also a blue sunprint piece of paper in the kit. Next you will take cardboard and lay in on the ground. You will take the kit and get the blue sunprint paper and put the paper on the cardboard. You will make sure that the blue side of the paper is facing the ceiling before you put the paper on the cardboard. Now that you've done that you will put your Silly bandz on that paper. Then you will take the acrylic sheet and put it on top of the other stuff. The acrylic sheet will have a sticky piece of paper on both sides of the acrylic sheet so make sure that you take it off. Now that you've done that you will take it outside and leave it out there for a minute to 5 minutes. After you go get it, you will take the paper and run it under some water for a minute. Then you will place it on a table or a counter. Lay it flat on the ground to dry and you are done.   The Silly Bandz leave a print on the paper after you take them off the paper.


Saturday, August 7, 2010

Clipboards


This week I made clipboards. All we got were some clipboards. (You can just us old ones that you have at home.) But back onto the list we got clipboards, scrapbook paper, glue stick, Mod Podge and a foam paint brash. It took me about 2 days but I bet if I worked harder it could have taken me 1 day.

Step 1
The first thing I did was draw what I wanted it to look like. After I did that I would mark where the main piece of paper would go.


Step 2
It would take a while to cut the pieces of paper just the right size.


Step 3
Then I would quickly lay the pieces of paper on the clipboard.

Step 4
I would then take the pieces of paper of the clipboard and glue the pieces on the clipboard.


Step 5
Use a sand block and sand the edges of the clipboard to make it so that the paper and the clipboard are smooth and together. (You have to sand down, not up. If you go up, it pulls the paper off the clipboard.)

Step 6
I would wait awhile before you put on 1 or 2 layers of Mod Podge. I put 2 layers of Mod Podge on the clipboard.

Step 7
You will wait about 10 to 15 minutes in between each painted layer of Mod Podge.


Saturday, July 24, 2010

Weaving


Okay this craft took me about 3 to 4 days to make. But if you work on it all day and put your energy into making the weaving, you can do it faster. My mom takes me to the craft store about every 2 weeks to get new supplies. The last time she got me some balls of yarn so that I could make the weaving. I used 2 kinds of blue string to make the weaving. But if I wanted to I could have used the other colors of yarn that my mom got me.

1. Pick your yarn colors.
2. The first thing I did was get a box and cut a BIG piece of cardboard.
3. cut a stick that is as long as your loom.
4. I used the piece of cardboard to make a loom.
5. All you have to do is cut notches out of the cardboard.
6. Then cut a long piece of yarn and tread the big needle.
7. You tape the end of the yarn to the back of the cardboard.
8. Then wrap the yarn in front of the cardboard then tape the other end of yarn to the other side of the cardboard.
9. Weave the string over and under, over and under, etc.
10. Once you are finished with one of the colors all you have to do is tie the other piece on.
11. When you are all done, tie the end of the string to the string loom.
12. Then you will take the string loom and cut the little loom loops in half and tie the two pieces of yarn.
13. After that you will take the stick and pull the string loops over the stick.

Sunday, July 11, 2010

Watermelon


Look at what you can make with a watermelon.

Saturday, July 10, 2010

Boxes


I got boxes and I decorated them with tissue paper and also with mosaic pieces. We recycled the boxes by decorating them. I got my boxes from all kinds of things. The 2 containers were Hershey's cocoa containers. But my parents also gave me coffee containers and water flavoring containers. So once we had used all the coffee or the water flavoring, my parents would give me the boxes.

It doesn't matter if your boxes are big or small. But if you do a big box it will take you much longer. It took me about 2 hours to make the mosaic and the tissue paper boxes and mine were not that big. They look easy and they are easy but they take a lot of time. So if you don't like to be patient or to take your time, this may not be the craft for you. But I do hope that you will try to make the craft because it looks really cool when it's done. To make the mosaic box, all you have to get is..... some different colored pieces of paper. Then you glue the pieces of paper all around the box. You will let the box dry for a while and that's how you make the mosaic boxes.

The tissue paper box was a little easier then the mosaic box. the first step is too wrap around about 5 to 10 piece of tissue paper. You will glue all the pieces all around the box. If you have a cuter paper hanging off the edges of paper you can just cut it off. This will take you a while to do. Then you can cut abut 4 to 6 pieces of tissue paper. You can cut the pieces of paper in any size and shape. you do not want to use to much glue on the paper. If you do use too much glue the paper will tear in to pieces of tissue paper and that's all the steps it takes to make a tissue paper box.

Saturday, July 3, 2010

4th Of July Sundae


I made a Fourth of July ice cream sundae this week because it was Fourth of July. You don't have to make them just because it was Fourth of July. You can make them anytime. They were vary good. I got the idea when me my sister and parents went to First Watch for breakfast. When we got there I saw a sign on our table that had a picture of a yogurt and granola Fourth of July meal. Well my mom said, "Why don't you go and make that for the blog?". But I did not want to so I asked if I could make a Fourth of a July ice cream sundae. She said, "Yes."

So the next day we went and got white and red ice cream from Jeni's. We got Riesling Poached Pear sorbet and Cherry Lambic sorbet. My dad also got me some whipped cream and some blueberries. We found our sundae cups. But you don't have to use sundae cups. You can just use a cup or a bowl. We let the ice cream thaw before we scooped the ice cream. You can scoop the ice cream in whatever order you want. I put the white ice cream on the bottom. Then I put the blueberries on. After that I put the reddish ice cream on. You don't have to, but I put whipped cream on top of the ice cream. You can even put some blueberries on top.

Monday, June 28, 2010

Coconut Cookies

My grandma comes to our house a lot. This time when she came she asked me if I wanted to make coconut cookies. I said yes because these are some of my favorite cookies that she makes. The ingredients are angel food cake, coconut, powdered sugar and some water. You can put food coloring in the sugar and water to make the cookies different colors. But not too much food coloring. Each rectangular angel food cake should make up to 48 pieces depending to how big you cut the angel food cake.

First, you cut the brown edges off the angel food cake. Then cut the rectangular angel food cake like it was a loaf of bread. Then you get the pieces of the angel cake that you just cut and you cut it again but this time into fours. You will cut the piece of bread up and down not side to side. Then you mix the powdered sugar with a little bit of water in a bowl. It does not matter if you use hot or cold water. It does not matter how much water you use just make sure that you do not use too much water. It needs to be a little bit thick. Then you will take the slices that you cut before and dip them in the bowl of the sugar and water. You will roll the pieces in the sugar and water. After that you will roll it in the coconut. Then you will let it dry on the tray for about 30 minutes. Once you have let it dry you will turn the cookies around and let it dry for another 30 minutes. After that you can either eat them or put them in the fridge and that's how you make coconut cookies.


Saturday, June 26, 2010

Tissue Flower Kit

I got a kit that was called "Tissue Flower Kit". I love making these types of things. It takes me about 20 to 30 minutes for me to make one flower. They put tissue paper and a pre-bent flower stem in the box. That's all the stuff you need to make the tissue flowers. If you don't get the kit you can just use about 5 to 7 pieces of tissue paper. Then you make the papers even up to each other. When all of the papers are evened up you will accordian fold the paper. Fold it back and forth then back then forth. You will do that till all of the paper is evenly folded up. Then when it is all evened up make the edge of the paper face the ceiling. Face the edges down. Then hook the pre-bent wire around the paper. Once you have done that, you will wrap the wire around the paper again. When you wrap the wire around the second time the edge of the paper should be facing the ceiling. Then gently pull apart the layers one by one.

Wednesday, June 23, 2010

Monkey Mango Smoothie


My mom was going shopping and she found this smoothie book called Cool Smoothie Fast, Fun, Frozen Treats. So I made one of the smoothie that sound good. It was called Monkey Mango Smoothie. It was a pretty good smoothie. I'm going to make another one of the smoothies but next time I will be making a different kind. This smoothie was very creamy and smooth. All you need is these ingredients.

1 cup of low-fat milk
1 cup of cubed mango
1 ripe banana, peeled, sliced
1 teaspoon of honey
1/4 teaspoon of vanilla extract

Blend all of the ingredients in the blender. Process the smoothie until smooth. That will make 1 smoothie.


Saturday, June 19, 2010

365 Things To Make and Do

365 Things to Make and Do by Usborne Activities is a great book. There are 365 things to make and do because there 365 days in the year. So you can have something to look forward to each day. This is a great book and you should buy it. It has a lot of great things to make. The book shows you how to make the things by showing you all the steps. If you don't buy it, I will be showing you some of the things from the book-- like how to decorate eggs with tissue paper and Boxfold Cards made out of paper and simple quilling also made of paper. I might show how to decorate boxes too. There are some things for younger kids and there are some more difficult things for older kids.


Thursday, June 17, 2010

Pepperoni Rolls

My grandma and I made pepperoni rolls. They are my grandma's friend, Sandy's recipe. They take about 2 hours to make but there is a lot of waiting. They are a great snacks to have. You can also eat them for a meal. If you want to keep them good for awhile, then you can put them in the freezer.

These are the steps to make the Pepperoni Rolls:

Step 1. Make the dough according to the Pillsbury Hot Roll Mix.

Step 2. Let the dough rise for 5 minutes.

Step 3. Cut the dough into 3 or 2 pieces.

Step 4. Roll out the dough.

Step 5. Put pepperoni on to the dough.

Step 6. Put a lot of cheese on top of the pepperoni.

Step 7. You can even put Parmesan cheese on it.

Step 8. Roll the pepperoni,cheese and the dough hot dog style.

Step 9. Pinch the ends of the Pepperoni Roll.

Step 10. Let the Pepperoni Roll rise 45 minutes.

Step 11. Bake the pepperoni roll to 375 for 18 -20 minutes.

Sunday, June 13, 2010

Pillow Friends

This may look like a simple thing to make, but don't let them trick you because it takes about 1 hour just to make 1 of these small Pillow Friends. I would have a parent help
you make a pillow friend. I did not think of this idea. Someone in my class thought of this idea and I thought it was really cool. So I thought you guys would like too know how to make these fun cute Pillow Friends.

The things you need to make your very own Pillow Friend is a needle and some stuffing. You will also need felt. (You can also get all kinds of felt.) You're also going to need thread.

Step 1. You can draw what you want your Pillow Friend to look like
Step 2. You will cut out you Pillow Friend.
Step 3. You will get the string and start sewing on the eyes
Step 4. You will get some more string and start making the mouth
Step 5. You will even up the 2 pieces of your cut out Pillow Friend.
Step 6. You will sew up you Pillow Friend, but do not sew up your Pillow Friend all the way.
Step 7. Put the stuffing in to your Pillow Friend.
Step 8. Sew up the rest of your Pillow Friend.
That's how you make a pillow friend.

You can add different face expressions. You can make your Pillow Friend happy. mad,sad or scared. If you want to. you could make them all the same color. This craft is for older kids especially, because you have to use a needle for most of the time when you are making it.

Saturday, June 12, 2010

Mini-Notebooks

I made these notebooks because we were doing Entrepreneur Day at school for a projects. I make up to 5 notebooks at a time. It takes about 30 to 35 minutes to make 5 notebooks. They are great for gifts. You can use magazine letters and magazine photos to make your notebooks. There are all kinds of ways to make your notebook. All you need to make the notebooks is a plain white
notebook and some stuff to decorate it with. You can even use scrapbook paper.

For the first notebook in the photo I made it out of cut out paper and paint sample strips from the paint store. The Hannah Montana notebook is made out of the paint strip too. It is also made out of a photo of her from a magazine. For the last one I made it out of scrapbook paper. You can also make it out of stickers and all kinds of stuff. The white notebook is not that expensive. We got about 40 notebooks for about $10.00 dollars at Oriental Trading Company. Any kind of stuff that you have laying around you could change in to a great gift or just a notebook for you. You can even put your own unique style on to the notebooks. All you have to do is get the notebook and glue on the paper. Then you can add some string or a photo to make in more fun. If you want to add some sparkles or even some stickers you could.

I hope you enjoy making the notebooks as much as I do.

You can see a close-up of each notebook on the slide show that I made.